|
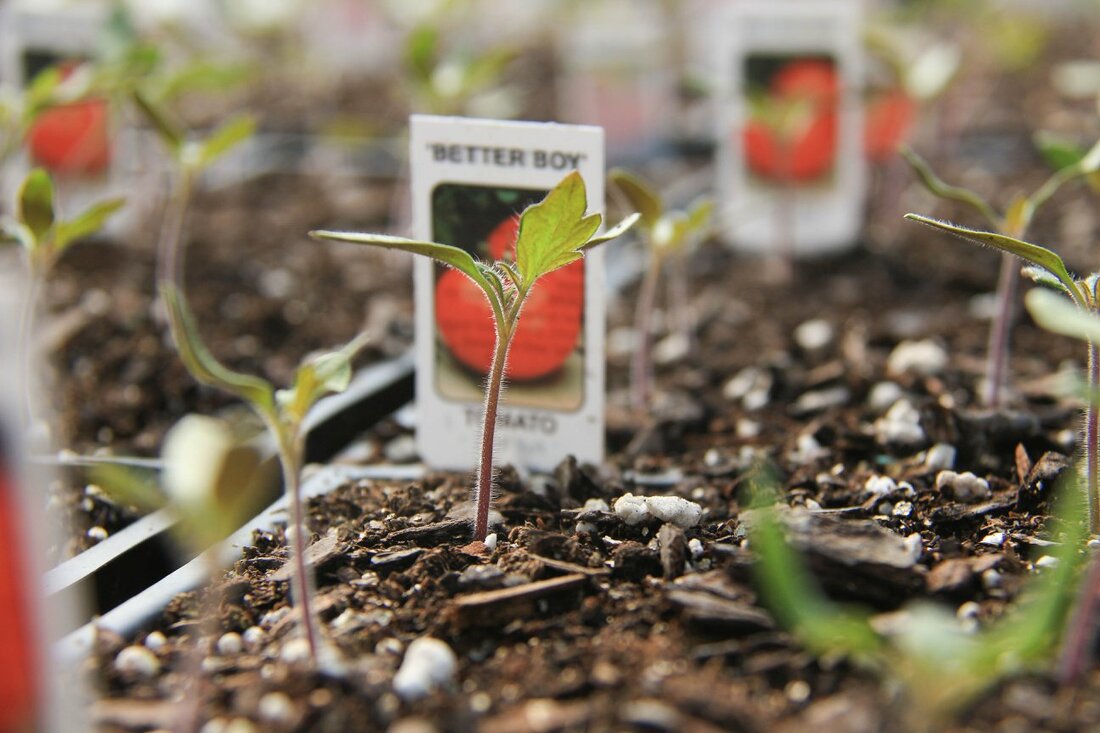
1. Start with the Best. Make sure you have the right light, space and soil for each plant. Then select plants with shiny, blemish-free leaves that you can easily lift out of the container. Come visit us in the greenhouse for some great plants!
2. Royal Soil. Before planting, test the soil and add necessary amendments. Bring your soil sample to us here at Barnhart's Feed & Seed and we can send it off, and help you read the results! If your soil is lacking, your plants will be too. For an extra oomph, add some compost to the planting hole. And if direct sowing seeds, mix in a seed starting potting soil, so seeds can take root easily. 3. Feed Now… and Later. When planting, mix in a starter plant food. Plants need food as soon as they are established! There are several great slow release fertilizers as well. 4. Stay Strong Seedlings. Before moving indoor seedlings outside, toughen them up. Otherwise, they may not make it. To help seeds adjust, begin hardening them off two weeks before transplanting. How-to instructions here. 5. Don’t Forget to Water. While still in their nursery containers, water your plants. Then water deeply after planting. Water reduces plants’ stress levels and helps them adjust to their happy, new abode. Get ready, your flowers, veggies and plants are about to be bigger and healthier than ever! You grow, gardener! Original article found here. Credit to Espoma.
0 Comments
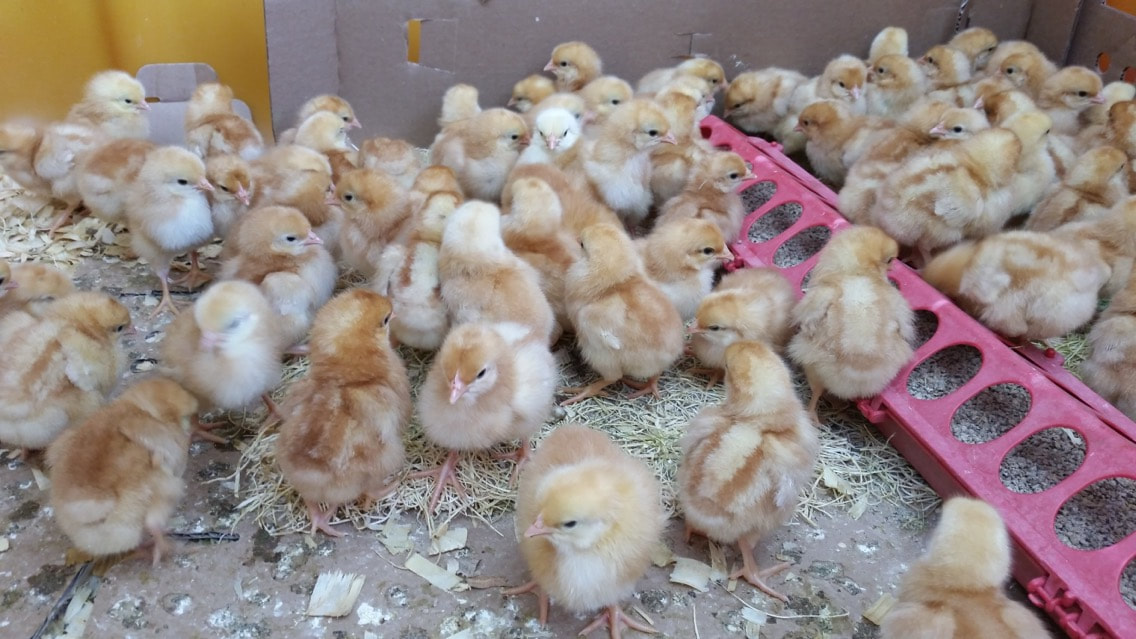
RAISING CHICKENS 101: RAISING BABY CHICKS Want to learn how to raise baby chicks? Here’s a beginner’s guide to bringing up baby! You can purchase chickens at several stages of development—it all depends on how long you’re willing to wait for eggs.
RAISING CHICKS Tending baby chicks isn’t difficult, nor need it be elaborate. As well as chick starter and clean water, they need a draft-free brooder pen with a red brooder lamp on at all times. This keeps the temperature at 92°F at 2 inches above the floor. (It also reduces picking and cannibalism among chicks.) When the chicks have feathered out, reduce the temperature by 5 degrees per week until they are 6 weeks old, then switch their feed from chick starter to grower mash. HATCHING CHICKS Instead of buying chickens every year, you could hatch your own. Of course, you’ll need a rooster to get fertile eggs. Check your zoning regulations; some places allow hens, but not roosters. Hens will lay perfectly well without one. (The occasional blood-spotted egg isn’t caused by the rooster and is perfectly fine to eat.) You’ll also need a broody hen. Broodiness—the instinct to sit on eggs until they hatch—has been bred out of a lot of chickens, but we always had one or two who would begin to sit tight on the nest and peck if we tried to remove their eggs. Bantams are famously broody, and a bantam hen will hatch other hens’ eggs. You can hatch replacement chicks yourself with a home incubator. Eggs take 21 days to hatch. (Did you know that there are best times for setting eggs under a hen or in an incubator? You can find out more about setting chicken eggs by the Moon’s Sign here. An incubator must be watched; chicks left too long after hatching will die of dehydration or picking. One particularly determined one in our incubator picked its way through the screen guard around the ventilation fan and was decapitated. On the whole, we found it best to leave it to the hen. TIPS FOR A HAPPY CHICKEN COOP
See more of our beginner’s guide to raising chickens: Original article from The Old Farmers Almanac, click here to visit: www.almanac.com/news/home-health/chickens/raising-chickens-101-raising-baby-chicks# Ready to order your own chickies? Just call us to check availibility!
|
Proudly powered by Weebly


 RSS Feed